Cordingley 163: a bit of a meander: need to embed photo
This blog is not the finest piece of analysis, not at all important, but I did find it pretty. I am blogging it today because the idea came to me by comparison with Cordingley 163
The puzzle position below is from Chess Today
White to play and win
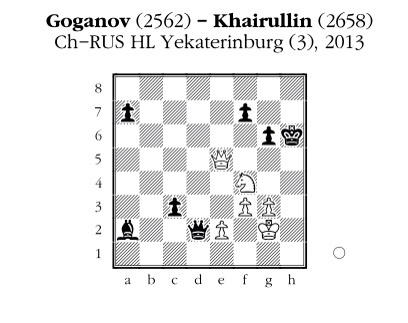
Solution
The correct solution, which I failed to find (I thought the line below won) is 1 Qe8+ Kg5 2 Ne6+! which is a desperado/ square clearing move, permitting f4+ followed by either Qe5+ or Qg4+ mating. Very nice.
My Pretty but flawed solution
My solution started with 1 Qh8+ Kg5 2 g4. The first idea is that it theeatens 1 Nh3 mate, so the knight must be captured.
Taking with the king loses to 2Qf6mate, so black's only move is 2…Qf4 when 3 Kh3 was my point. The king hiding is similar to Cordingley 163.
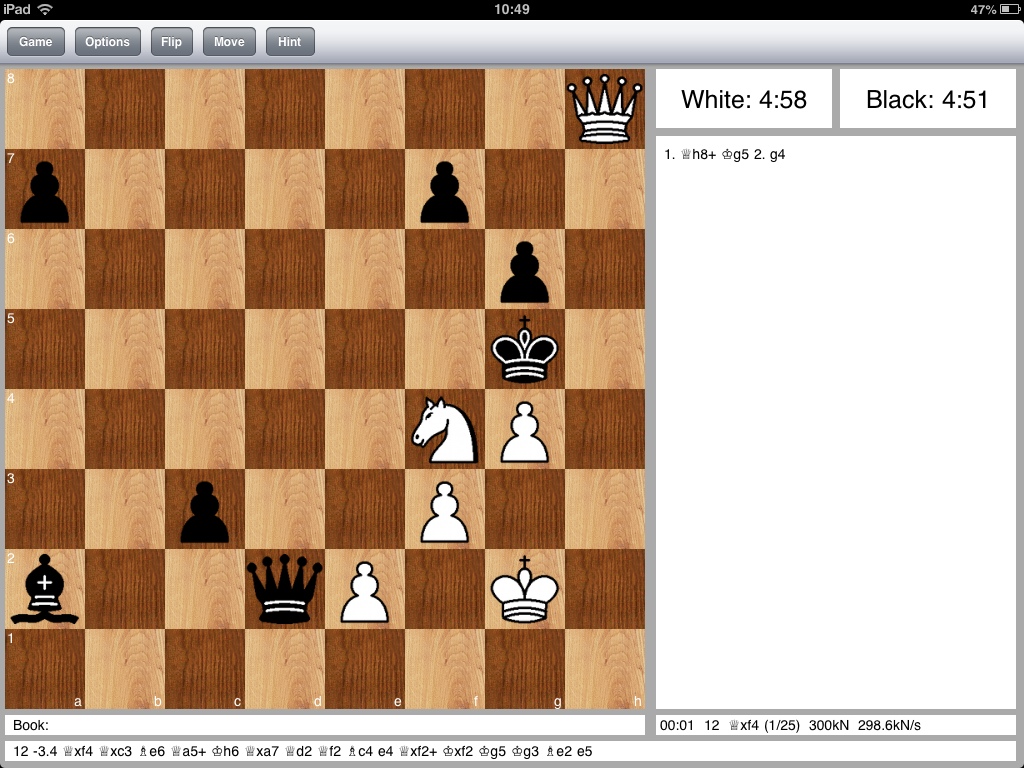
Then what? The black queen must move, since 4Qh4mate is threatened, but where to?
4… Qc7 (where it is LPDO) loses to 5 Qh4+ Kf4 6 Qg3+ skewering. 4…Qd6 is the same.
4… Qe3 loses to 5 Qh4+ Kf4 6 Qf6mate.
4… Qd2 (where the queen is not LPDO) fails in a different, pretty way: 5 e3!! which threatens 6Qh4 mate, so that 6..Qe3 is forced, when Qh4-f6 is mate again.
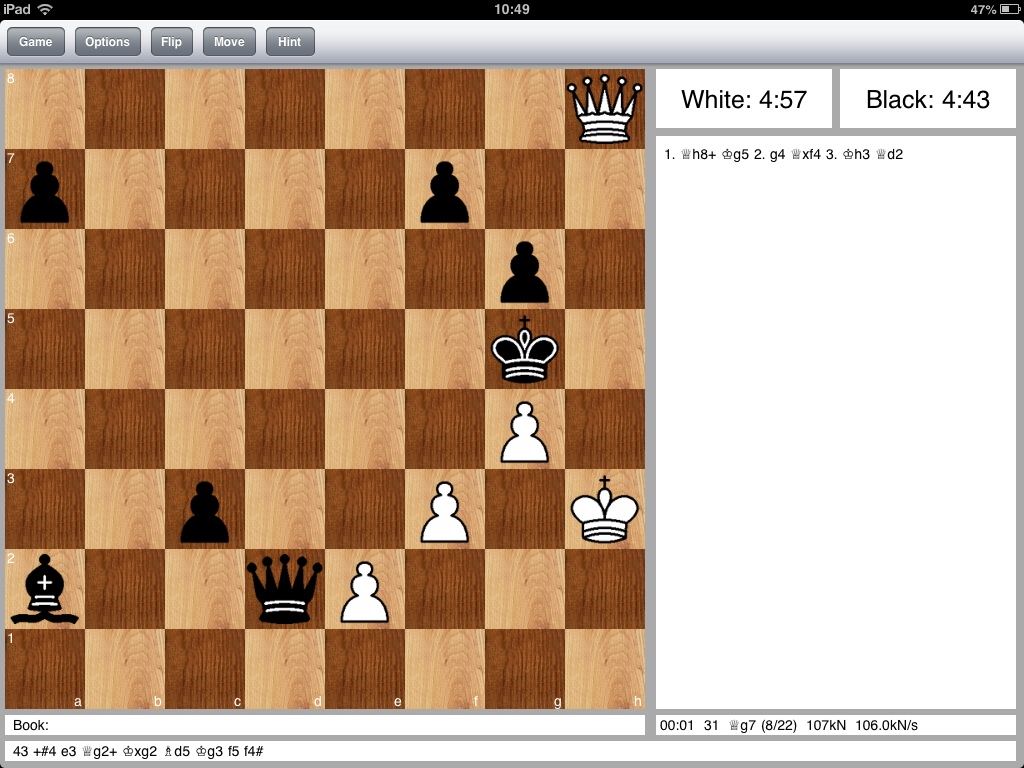
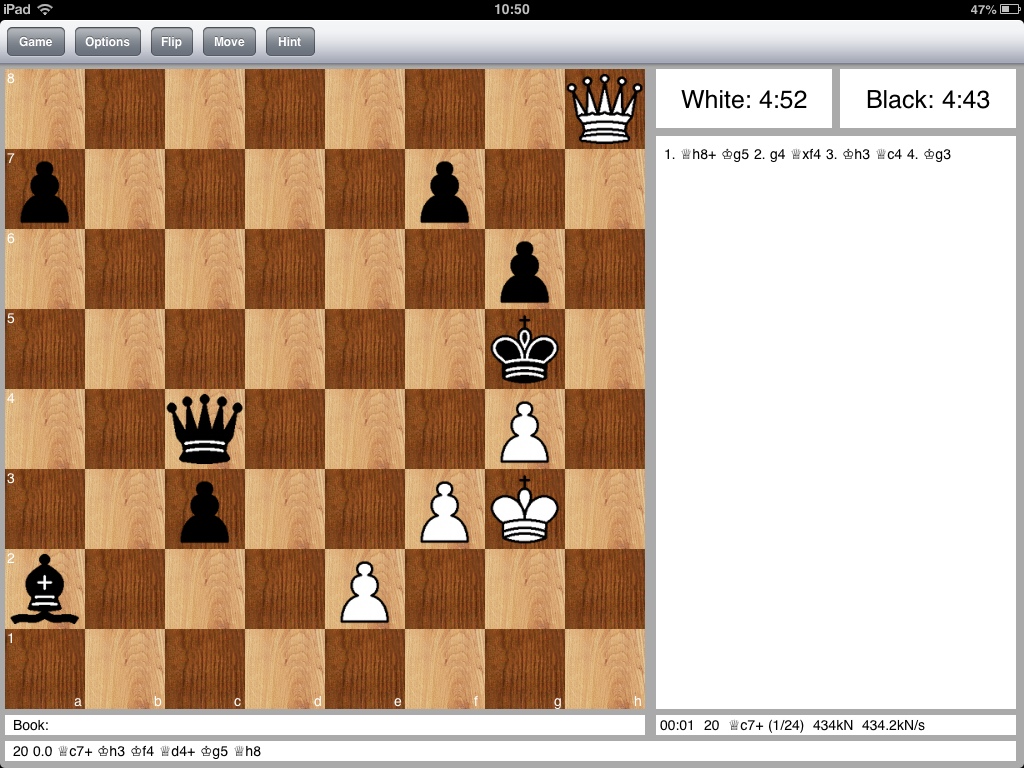
So, how does black defend? He only has one move, which I missed, 4… Qc4! The idea behind it is to pin the e2 pawn: 5e3?? Qf1+ and black wins.
But it is not over yet. 5 Kg3 and it is drawn, either by 5..Qf4+ 6 Kh3 Qc4, repetition, or 5… Qc7+ 6 Kh3 and now either 6…Qc4 (pinning the e2 pawn again because of the jump-check on f1) or 6… Qc6 (pinning the e2 pawn because of 7 Qf3+) but not say 6..Qd6 because of 7 e3! mating ( even better than the skewering Qh4-g3).
Very pretty. Quite trivial though.
