Cordingley puzzle 245 #chess
White to play and win
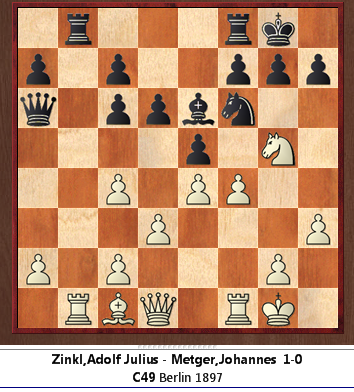
A really good exercise, capable of examinination at many levels: probably cooked, though.
Solution
I really enjoyed this one. Partly because I sometimes play the Four Knights opening at blitz (it ensures I get my pieces out, even if I rarely get any advantage from the opening by playing it) and this is quite a dream position from the 4Ns.
Black's queen is offside, and the solution 'has to be' 1 fe, with only two lines to consider. Firstly, 1…Rb1, when after 2 ef all that white has gambled is rook for knight and pawn, and any aggressively minded player is bound to think that a worthwhile loss for the prospects of attack: and my analysis shows that white is probably winning, though both sides made mistakes in the actual game.
The other line to be examined is 1…de!, the exclamation mark because I thought it was, and indeed it is, the better defence. Then 2 Rf6! Rb1 3 Qh5!? Rc1+[] 4 Kh2 and I thought 'white must be winning', since 4…h6 is met by 5 Rh6!.
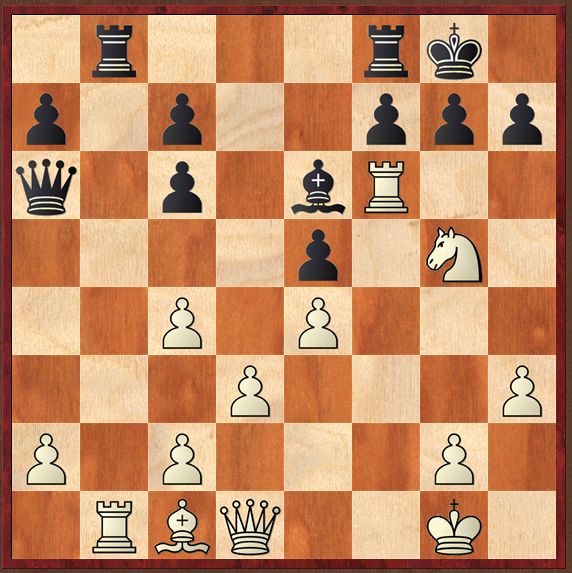
It is 'so obvious' that Cordingley doesn't even consider …h6, giving instead Rfb8 and then an error strewn path to mate- error strewn thanks to Houdini, of course.
However, Houdini also shocked me by telling me that after Rh6!, gh! is at best a draw for white- and so it is- white must bale out for a perpetual.
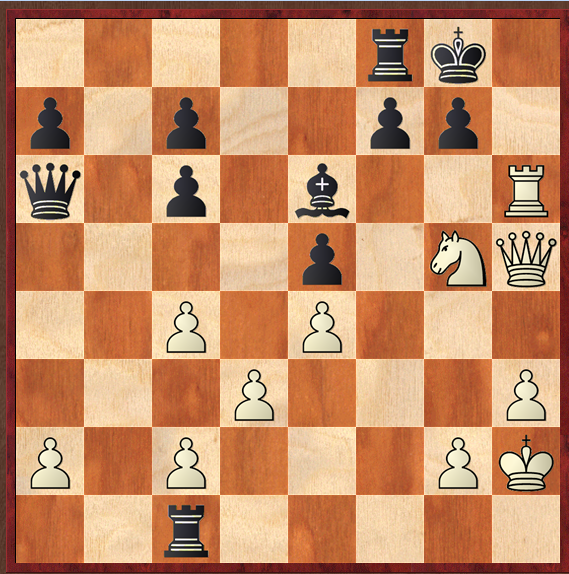
Returning to the line after 1…Rb1, positions like the one below are reached (see the attached analysis). I found it remarkable until I examined it further that such positions are simply winning for white. In time, he will break through on the e file, or, if black prevents that, by the pawn lever g4: in effect, white is a piece up, since black's bishop doesn't contribute to the game. Very instructive.
One of the positions in the analysis is so beautiful that I have posed it as a separate puzzle in a separate posting today.
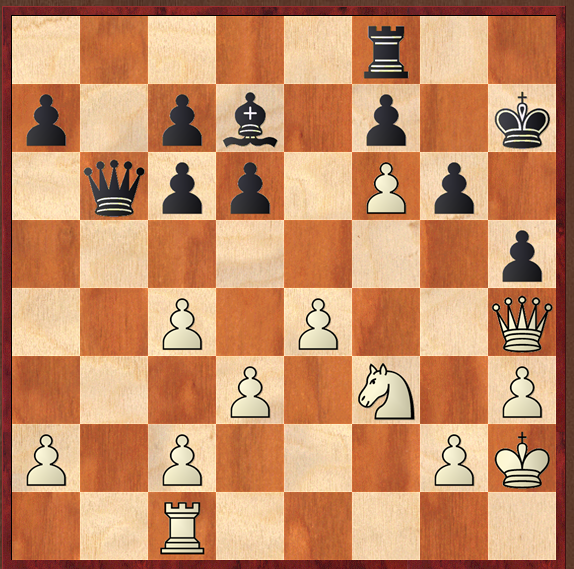
Meanwhile, despite its limitations (because h6! draws), this is one of my favourite Cordingley puzzles. The attached analysis goes into more detail.
