Test your chess: Reitstein problem 37
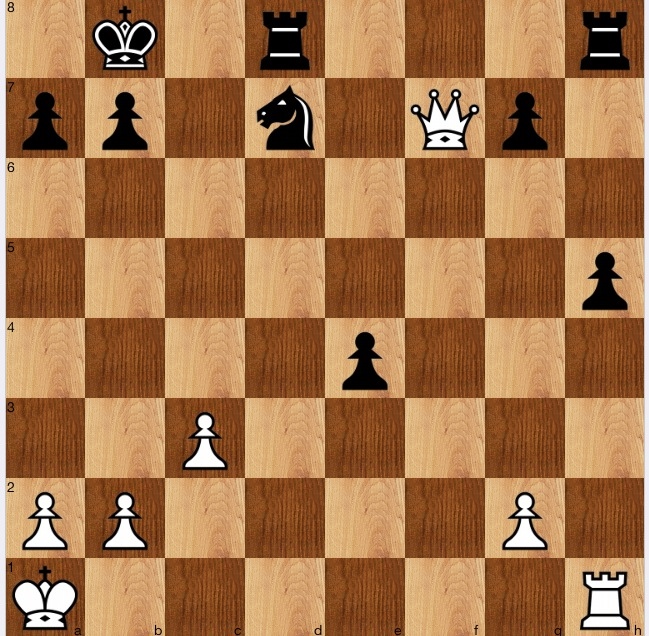
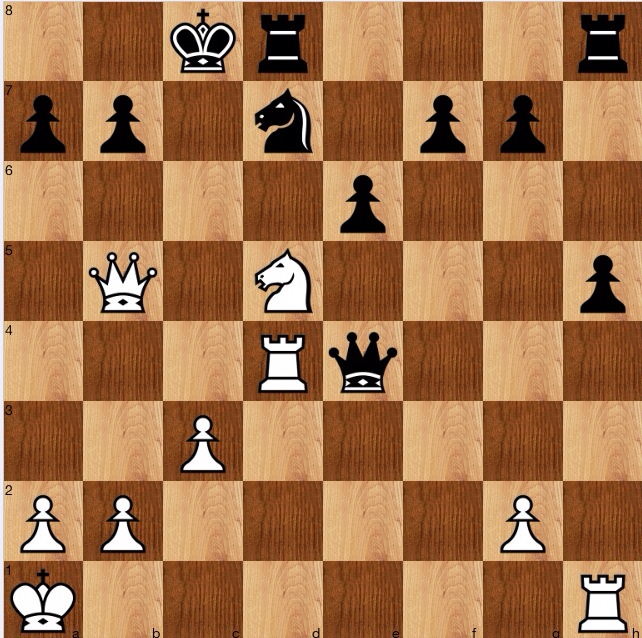
White to play and win
(a good one today, probably the best of the book so far)
B Shipley v M De Ponte 1971
Black's last move was 0-0-0.
Solution (worth working through yourself first before reading on)
This took me a while to solve, but was a very enjoyable task.
The queen and knight aren't sufficient to win by themselves, and other than seeing and discarding Ne7+ or Qa5?, I quickly focussed on 1 Rhe1, the natural move, bringing up the cavalry [well, not quite cavalry: an elephant, perhaps]
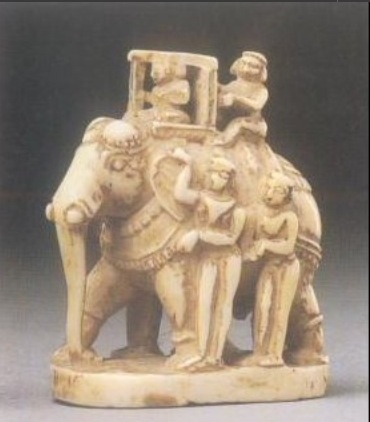
(An irrelevant picture, just to show you can google just about anything nowadays: and to think, as a child, I always wanted, but our family never bought the multi-volume Encyclopaedia Britannica)
back to the chess
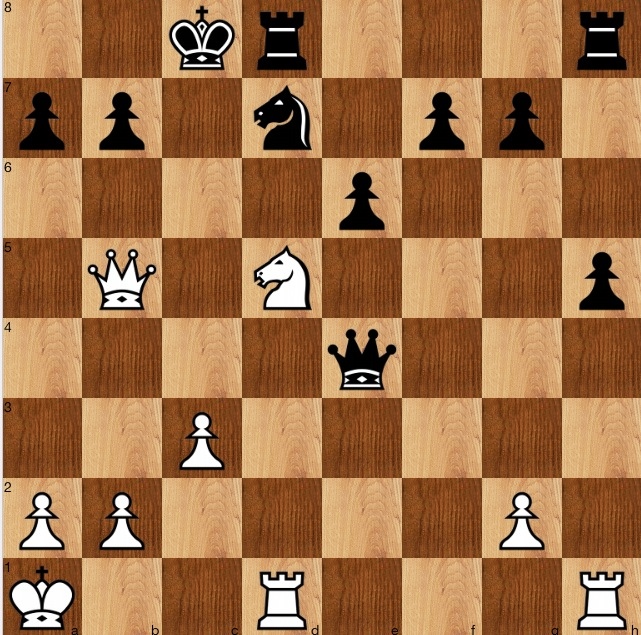
After 1 Rhe1, it can be seen that some squares are mined (1…Qf5?? 2 Ne7+; 1…Qg6?? 2 same) but the line I concentrated on was the natural capture 1…Qg2 (natural, but not the best move). Then, following Purdy's mantra of considering all biffs 2 Qc4+ Kb8[] 3 Qc7+ Ka8[], but then what?
In fact, white is losing here, but the notion of Nb6+! ab (Nb6?? Rd8+ and mate) Rd4-a4 came to mind- a back 'rank' mate.
I should have been able to leap to the solution from here, but didn't. Instead, I realised that one of the functions that the Qe4 serves is to defend c4: so, 1 Rhe1 Qg4 2 Rd4 (getting the idea of bringing more pieces to the party) Qg3! (watching c7) and again it is level. However, a slight change of move order, 2 Ne7+! wins: if 2…Kb8 3 Nc6+; if 2…Kc7 3 Rd4 and now 3…Qg3 fails to the pinning 4 Red1: the small difference that the king is on c7 prevents the queen retreating to that square. As a further example of how much control white has, in the line 1 Rhe1 Qg4 2 Ne7+ Kb8 3 Nc6+, the reason it wins is that 3…Kc7 is met by 4 Nd8 Rd8 5 Qa5+! Kc8 6 Rd4 and Red1: the Rd4 prevents Qh4, defending d8, and the Qa5 prevents Qg5. Economy of forces.
However, the fact that 2 Ne7+ wins, shows that there is a need to control e7: so, 1 Rhe1 Qh4!- I think I chose g4 because on that square the queen is protected, but in this present position, that is not important. An added benefit of 1…Qh4! is that from that square, it looks at e1, so preventing the rook lift Rd4. Therefore, for instance the decoying biff 2 g3 Qg3, whilst it enables Ne7+, doesn't have any result! since the rook lift is still prevented.
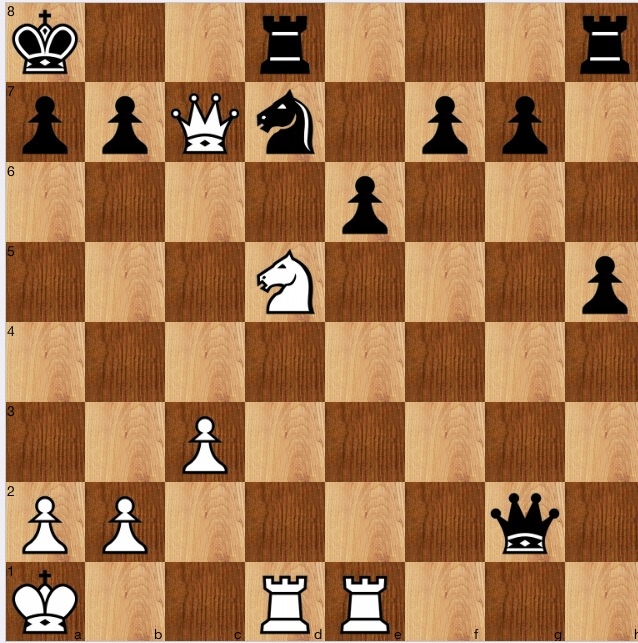
All the above thoughts are quite interesting, but eventually the solution came to me. The initial biff 1 Rhe1 doesn't do much, if black responds correctly with 1…Qh4, so better the immediate rook lift 1 Rd4!.
We know that f5 and g6 are mined, so the queen can't go to either of these squares (Ne7+). So, 1…Qe5 is a natural try, seeking to control c7, but 2 Ne7+ Kc7 (Kb8 is one more faster) 3 Rc4+ Kb8 4 Nc6+ 1-0. Therefore, the queen must move somewhere less useful, say 1…Qg2, when the manoeuvre we saw earlier, Qc4+_Qc7+_Nb6+_Ra4 now works.
A slight fly in the ointment is that black can instead bail out with (1 Rd4) 1…ed (the biff 1…a6? doesn't work because of 2 Qc4+) 2 Re4 de 3 Qc4+ Kb8[] 4 Qf7 when white is winning, but slowly.